Storage, the eternal problem for families of small children. There just never seems to be enough. Or there is enough but it is full of stuff needing sorting and then the problem is lack of time rather than lack of space. As well as the issue of where to put the stuff, there is the matter of where the extra storage solution can be fitted in in an already pretty full house. I try to keep on top of things, but at the rate the children grow, there just doesn’t ever seem to be enough room for all their belongings.
A while back there seemed to be shoes everywhere in the house. The cloakroom was stuff to bursting point and the shoe cabinet in the hall was choc full too. Wellies, proper shoes, Crocs, runners, slippers, heels, sandals, boots. Given that there are only ten human feet in the house, we seemed to have a very high shoe to foot ratio and nowhere left to put the flipping things. That, thankfully, is now a thing of the past thanks to an elegant solution I came up with.
I took my own shoes out of the equation.
Very selfless of me, right, taking away all my shoes to make room for the children’s and The Bavarian’s shoes?
Wrong! Selfish, more like. You see what I did was treat myself to a shoe cabinet of my very own. A bespoke, luxury-upcycle shoe cabinet, to be exact. And it was a joy to create. Easily one of my favourite upcycles to date.
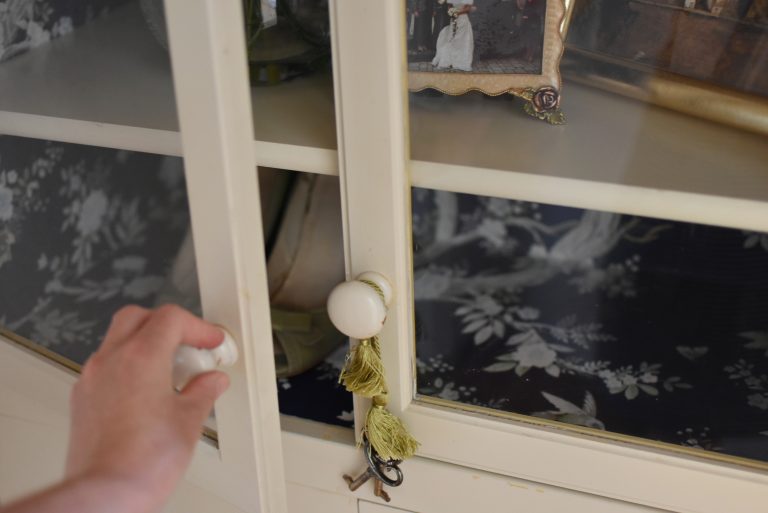
On the search for a storage cabinet, I spotted a glass-fronted cabinet with the perfect measurements for the nook on our landing. It was selling online, second hand for €20. I rang up, grabbed it and looked for inspiration for lifting it out of its drab state.
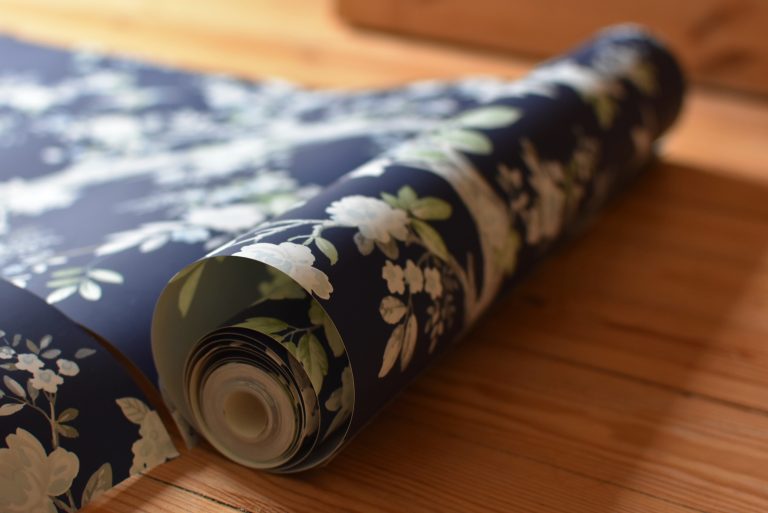
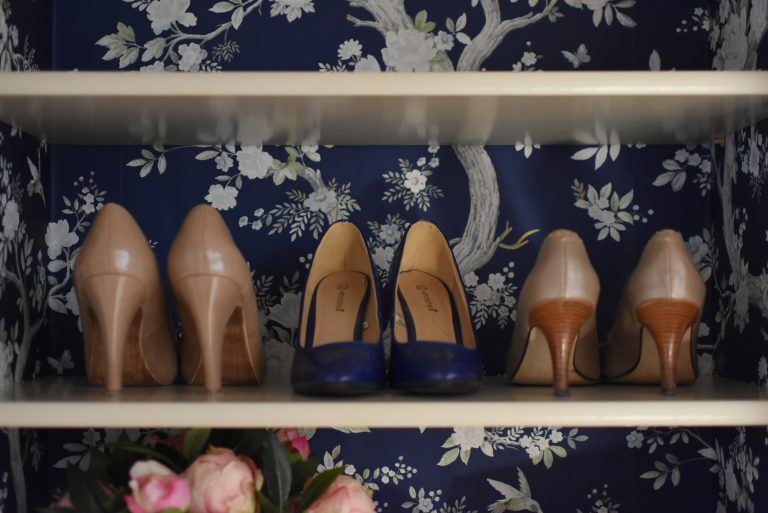
Browsing the Laura Ashley site for paint – my go to plan for old furniture is to paint it – it suddenly stuck me that wallpaper could be just the solution I needed, so I ordered one roll of Queensbury Midnight Wallpaper. Although I had been planning on painting the cabinet dark grey, the midnight blue wallpaper with its luminous floral pattern really appealed to me. I reckoned that if I papered the inside of the cabinet, it would be a great contrast to the off-white woodwork. And it is, or at least I think so.
To wallpaper the inside of the cabinet, I needed a measuring tape, pencil, wallpaper paste (I used a ready-mixed one in a tube), a scalpel, a scissors, a metal ruler, a brush for the paste and the roll of wallpaper. My first step was to remove the shelves from the cabinet and take measurements Using the measuring tape I measured the width and height of each of the three sections, left, back and right inside walls of the cabinet.
Step two was to cut the wallpaper to size. The roll of wallpaper came with some handy instructions, ideal for someone like me who has never hung wallpaper before. I wanted the seams to be as invisible as possible so I chose to centre one panel of wallpaper on the back wall. I measured and cut this section and then measured and cut the panels for the remaining part of the back wall as well as the left and right sides. Being new to wallpapering, I was very lucky to remember to line up the pattern properly so that I would end up with a continuous pattern across the inside of the cabinet. If you are going to try a project like this, I recommend you allow yourself plenty of time and space for rolling out your wallpaper and measuring correctly at this stage as it will save you a lot of bother once you being to hang the wallpaper.

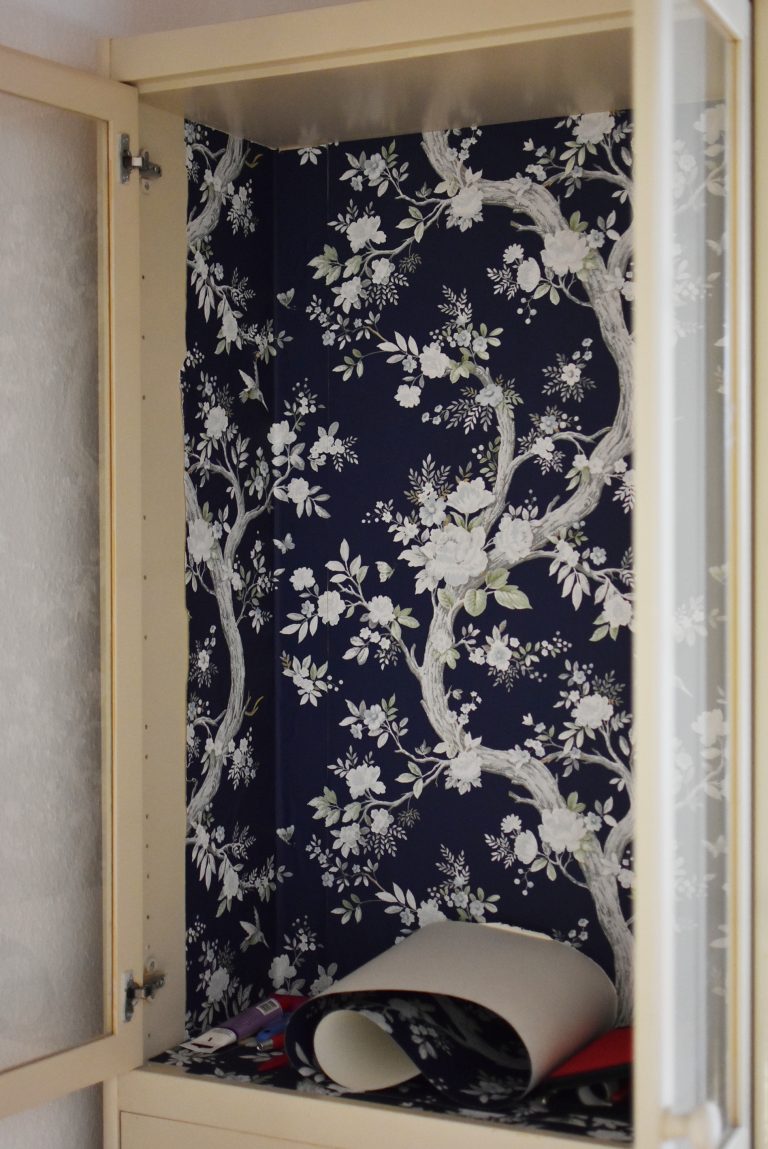
Since I was using ready-mixed paste, I followed the instructions on the tube for applying it to the wallpaper. The central panel for the back wall of the cabinet was the first section I hung. Using the metal ruler I smoothed it down the length of the cabinet. Avoiding capturing air bubbles was trickier than I thought but I got better at it as I progressed. The difference to the cabinet was immediate and stunning. The dark wallpaper with its striking, bright pattern took the cabinet from dull to luxurious straight away.
Once the first panel had been hung things got slightly trickier. Lining up the pattern exactly took patience. Panel by panel I smoothed down the wallpaper, making sure at the corners to avoid wrinkles and tears. Using the scalpel and the ruler I trimmed the edges of the wallpaper to give a neat finish and left it to dry. Again, this step was not all that easy for a beginner. On a close look at the cabinet you can see where I made mistakes. Next time I will be more careful.
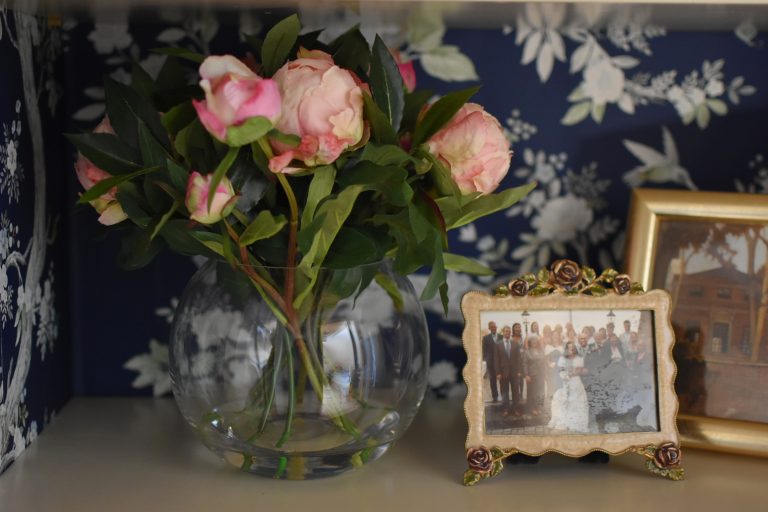
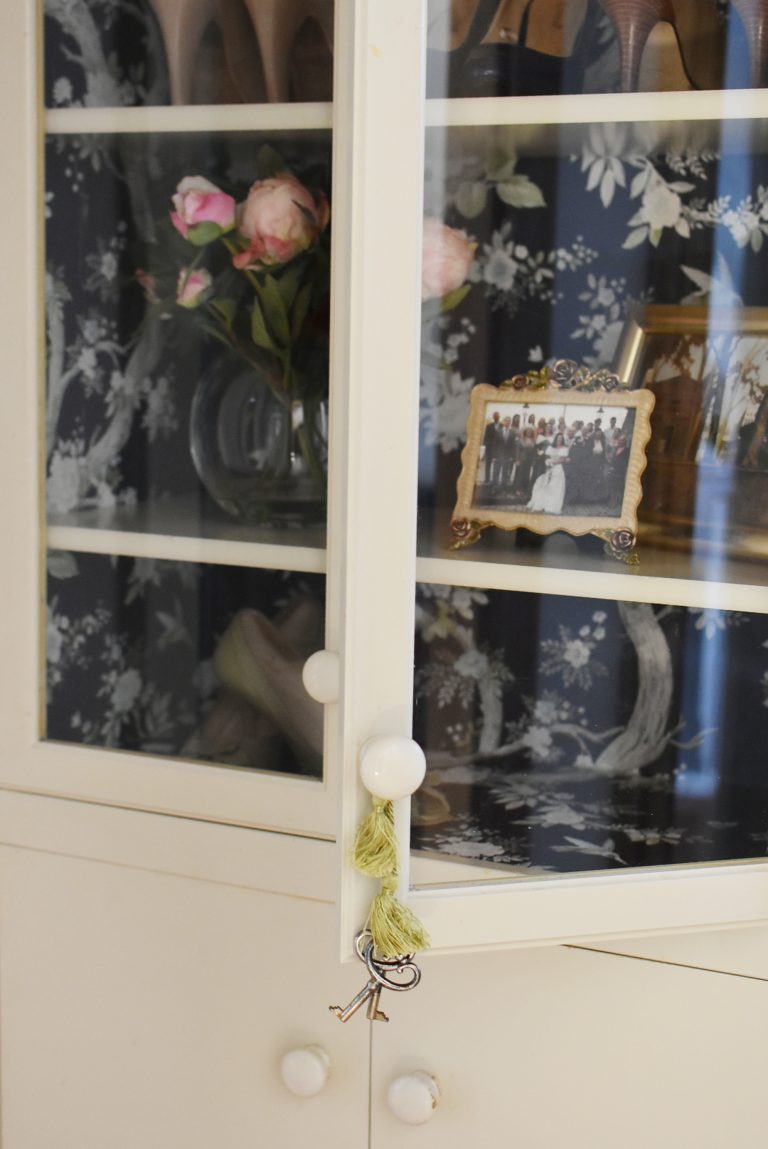
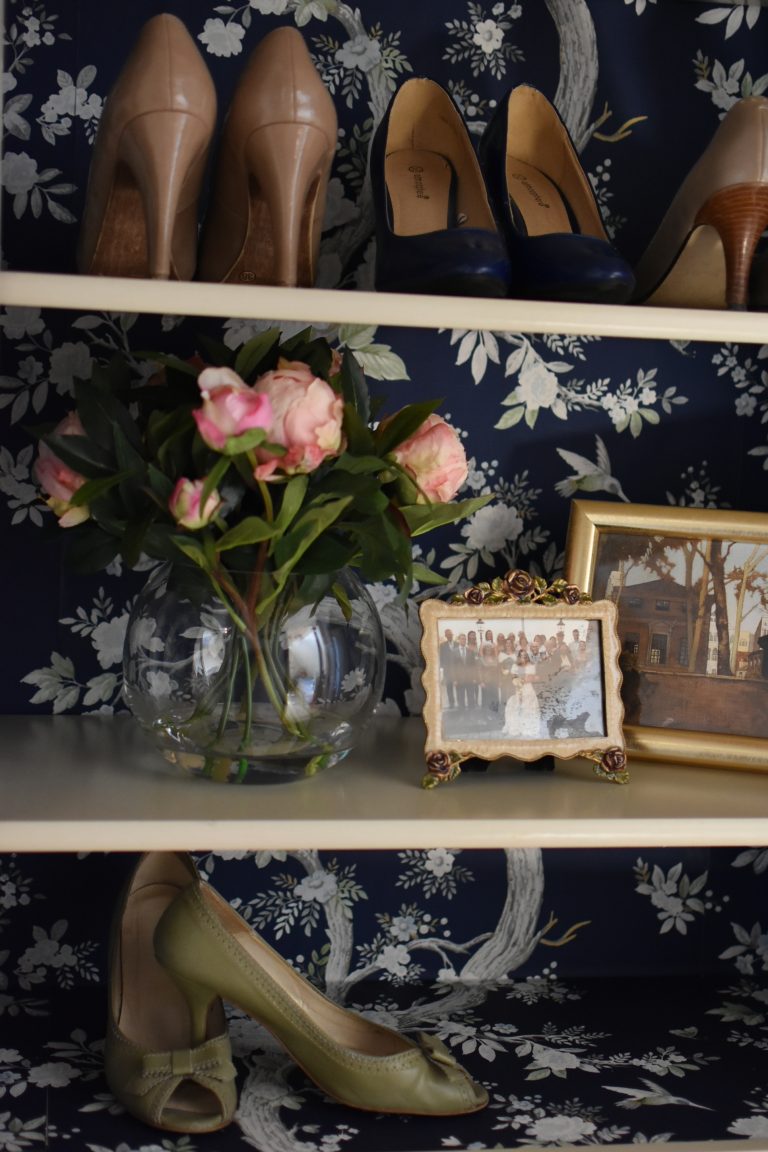
The shelves of the cabinet were in perfect condition and didn’t need any touching up with paint. All I had to do was insert the shelves at the desired height and arrange my shoes. Half an hour of faffing about later, I had styled my shelves with my favourite shoes, some treasured photos and prints and a gorgeous bunch of faux peonies. The splash of pink is a beautiful contrast to the darkess of the midnight blue wallpaper, don’t you think?
For days I stopped and looked at the cabinet whenever I was passing. I could not get over how much better a few strips of wallpaper could make it look. Not just better, but elegant and luxurious. Plus I had solved my storage issue. I am now completely converted to the idea of wallpapering not just walls but anything that will stay still long enough.
[Disclaimer: Laura Ashley sent me the wallpaper and peonies free of charge for the purpose of styling this post. All photos, words and opinions are my own.]
This is so gorgeous! You’re a talented lady x
Right back at ya Keira!
This is such a beautiful upcycle! I’m not surprised that you keep looking at it. Totally agree about storage that fills up with junk in no time! #HomeEtc
Oh thank you Victoria. I am really pleased with it.
Such a clever idea, I love how wallpaper can literally transform a piece of furniture into something so luxe. And well done you for taking your own shoe cabinet 😉 X #HomeEtc
Thank you Lins. I am delighted with how well the wallpaper suits the cabinet.
Aaah this is LOVELY!!!! That beautiful dark blue ground is fabulous isn’t it? What a lovely upcycle. Looks a million dollars — well done Fionnu! Thanks ever so much for sharing on #HomeEtc xx
Thanks Caro. I am just so glad I finally found the time and mojo to get back to interiors posts.