Designing and building a side table is not something I ever imagined I would do, but when I found myself suddenly in possession of four table legs, salvaged from the dump, it seemed like the natural thing to do. As someone who likes to see quick results once I have chosen a project, deciding on the the rest of the material for the table was always going to be something I had to do pretty snappy after getting those table legs. That is where being a hoarder comes in handy.
My first step was to review the wood we had in the shed. As soon as I saw the two railway- sleeper like planks, my heart did a little somersault. Sanded and waxed, they would be perfect. Given the grey-brown patina on the wood, I imagined back gloss would go really well as the colour for the tapered legs.
Soon afterwards, while innocently passing a couple of skips, I found three drawers from a chest. Back home I measured them and as luck would have it they were the idea size for my side table. With all my measurements taken and plan made, I got to work. At this stage I had better admit that it was The Bavarian who did the drill work because he does a neater, more accurate job of it that I and my lack of patience would have.
What I used:
4 tapered wooden table legs
2 thick, old, weathered planks of wood
Two short pieces of wood approx. 4 x 4 x 20 cm
Annie Sloan Wax (dark and white)
A small tin of black gloss paint
Paintbrush
Paintbrush cleaner & a jar
Shelf wood from the DIY store
Electric sander (mouse sander)
Electric circular saw (my favourite power tool)
Screws
Hollow screw threads
Drill
Hammer
Electric screwdriver
Step One: The Legs
Sand the table legs to give a smooth, even finish. Dust down with a dry cloth, taking care not to leave any fluff from the cloth on the wood. Prop the legs up and paint them with the first coat of black paint. Leave to dry for several hours. See the instructions on the paint tin for idea times. After the drying time is over, check the legs and sand lightly if necessary. Dust down and apply a second coat of paint.
Step Two: The Table Top
Measure the planks of wood and cut to size using the circular saw. Obviously you need to be extremely careful as this is a very powerful power tool. I wanted to have two planks of the same width and length as one another.
The next step was to sand the planks. I did consider leaving them in their weathered state, but decided against it in favour of a smooth table top and less chance of splinters in fingers. When sanding wood with an aged look, I find it best to go very lightly and smooth out the surface leaving, where possible, that aged, weathered look.
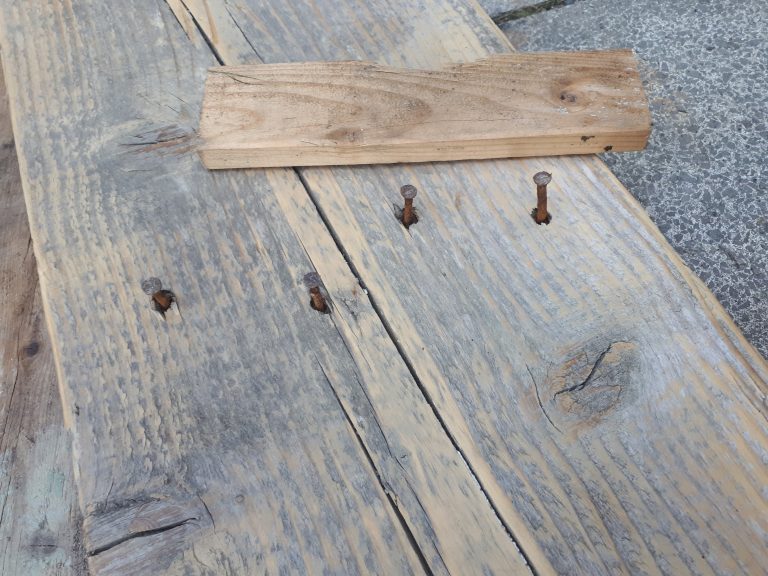
Before sanding, check for nails, staples or any other foreign objects embedded in the wood as these can cause injury and possibly damage your tools. I removed several rusty nails from the planks with a hammer before sanding.
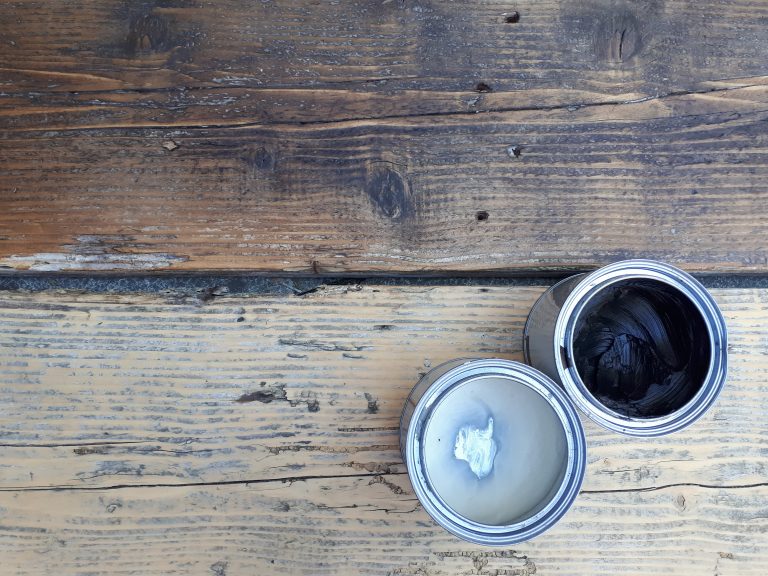
After sanding, dust the wood down with a cloth, as with the table legs. Then apply the wax, sparingly at first. I used a combination of the dark and white wax to get the look I was going for, a glossy medium brown. Apply the wax in layers, polishing each time till the wax is fully absorbed. It can be tough going on the arms but is worth it to get a good finish. See the photo below for the difference in the wood before and after waxing – top waxed, bottom natural.
Having prepared each plank, the next step is to attach them to one another. Turn then upside down and place them beside each other. Using the short lengths of wood and two screws per length, affix the wood to the planks for the table.
Step Three: The Drawers
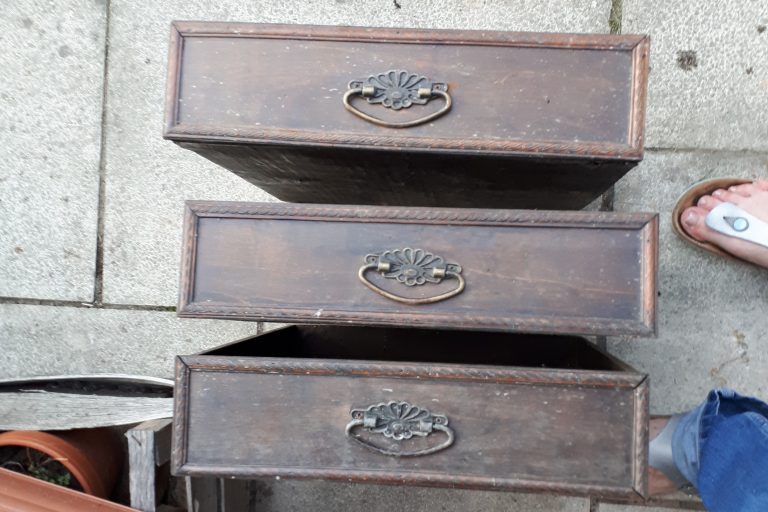
Transforming the old drawers was one of my favourite parts of this project because the results were quick and easy. Best of off, the brassy handles add a touch of elegance to the side table that I coun’t have achieved without the addition of the drawers.
The first step was to remove the handles. Wash them with a nail brush in warm, soapy water and dry with a soft cloth.
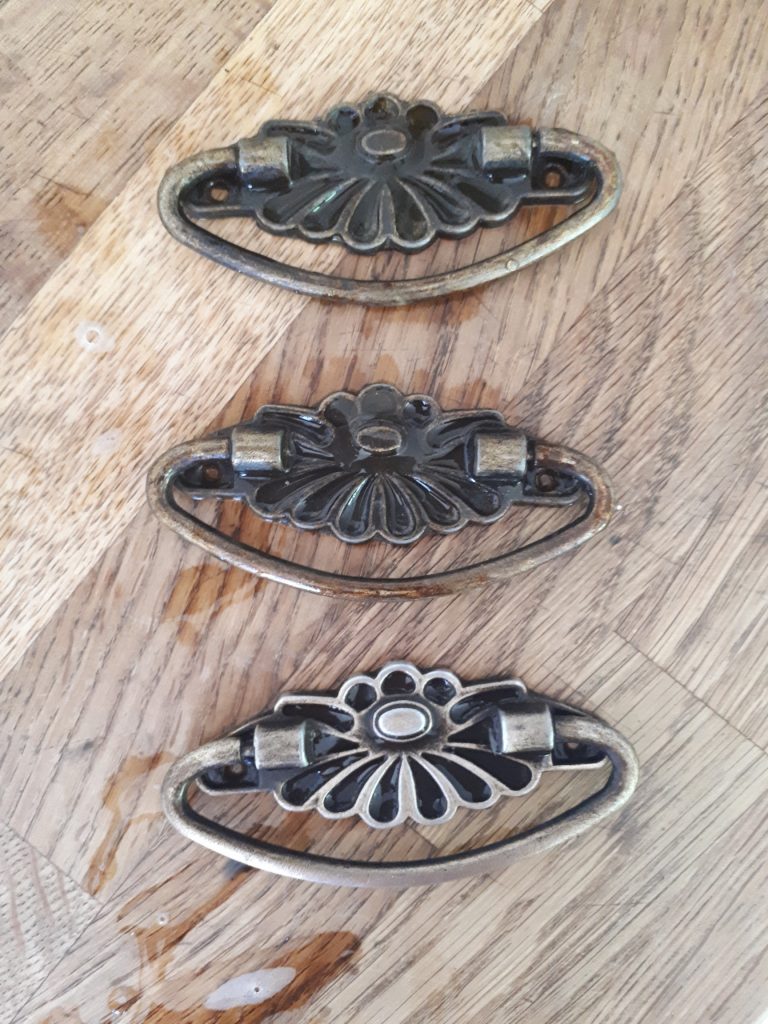
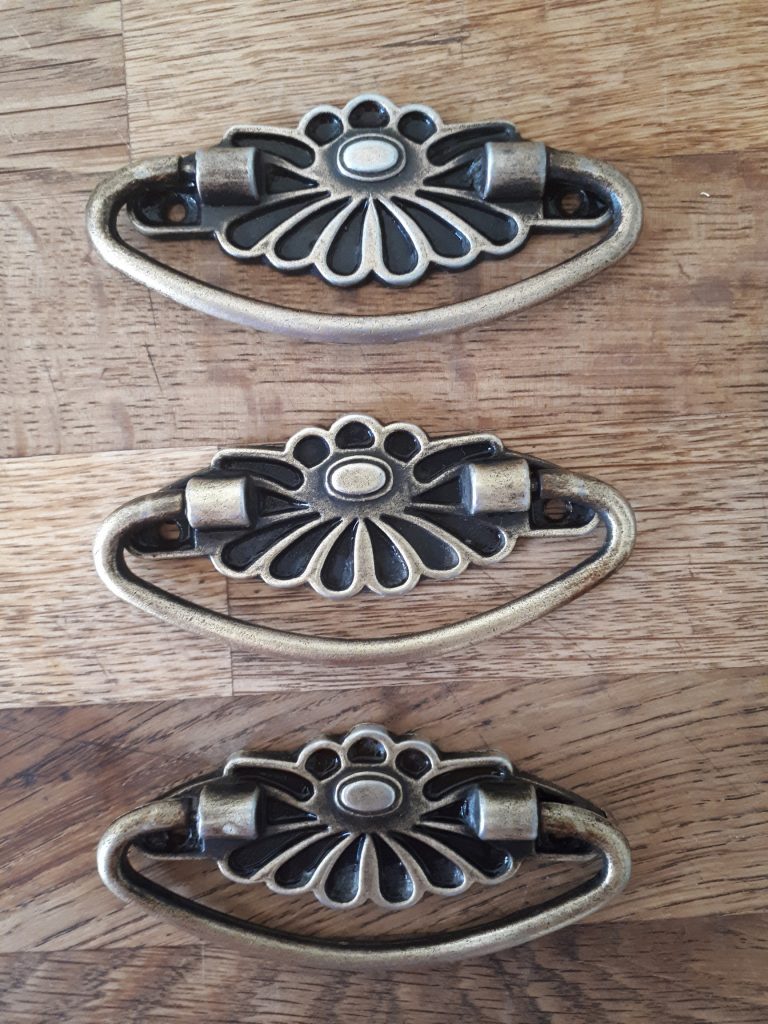
Dust down the drawers and paint with two coats of black gloss paint, leaving them to dry well between coats. Once they are fully dry, re-attached the handles.
Measure the length of the three drawers set side by side, leaving a little room between them to allow for sliding them in and out. Measure the depth of the drawers, also leaving 1-2mm between the drawers and the table top to allow for easy opening and closing of the drawers.
Using the shelf wood, the build a u-shaped holder for the drawers. This will be attached to the underside of the tabletop. Paint the u-shape with two coats of black gloss paint.
Step Four: Assembly
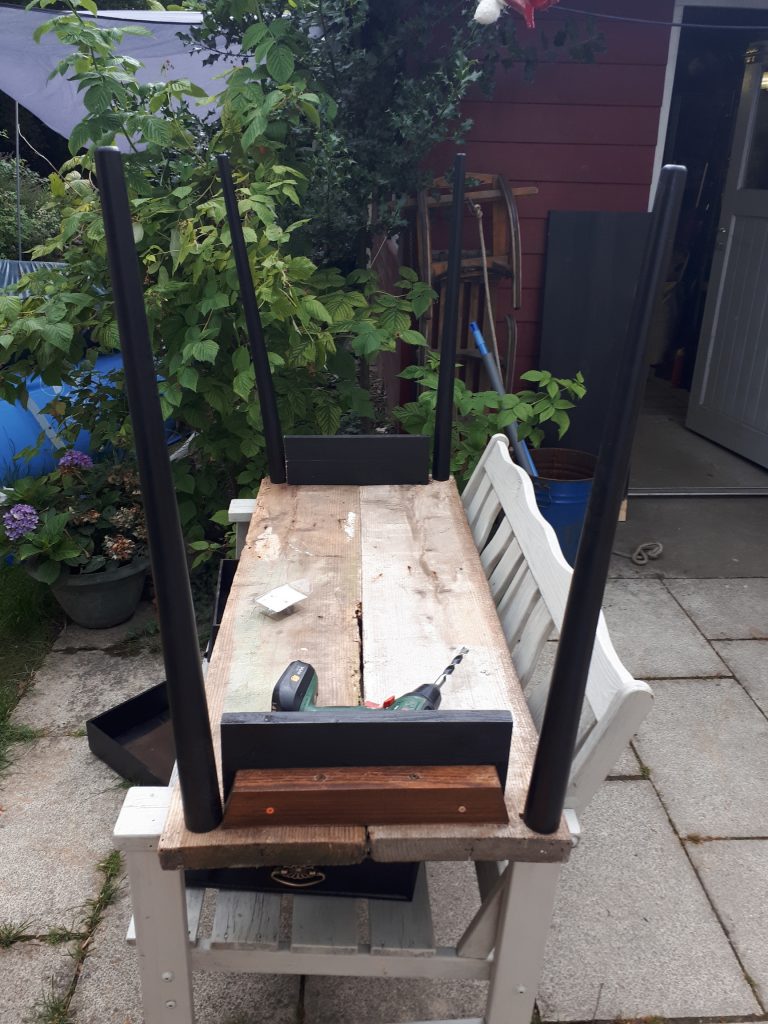
Here is where it all comes together. Place the table top upside down on the ground, a table or bench, making sure to protect the waxed surface from scratches.
Next decide on the placing of the legs. Mark a spot for each -one at or near each of the four corners of the table top – and drill, taking care not to drill through to the other side of the table. The legs I used had a bolt each and as such needed a hollow screw thread each embedded in the table top. Getting these in place took a bit of trial and error, but in the end we got them in. All that needs doing at this stage is for the legs to be screwed into place.
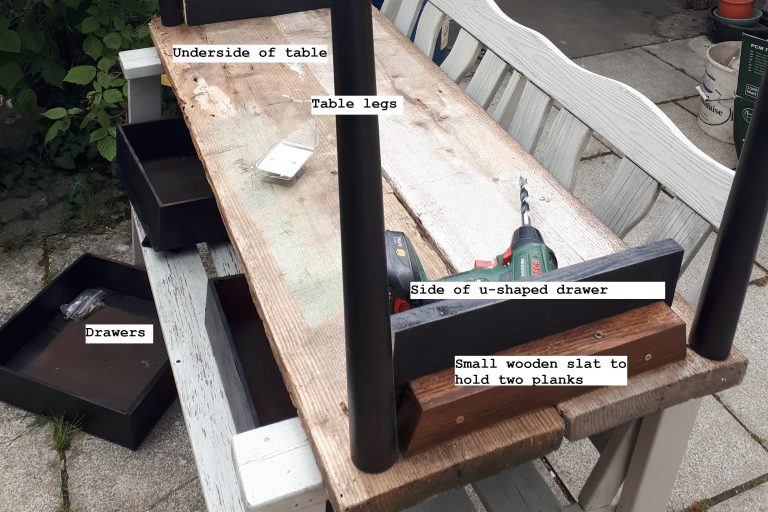
Then place the u-shaped drawer surround onto the underside of the tabletop. It should look like a kind of tunnel. Drill holes and use screws to affix the sides of the u-shape to the short wooden slats used to fasten the two planks that make up the table top together. Alternatively, affix the sides of the u-shape and then add the horizontal piece of wood.
Turn the table upright, insert the drawers and there you have it. Your own homemade side table.
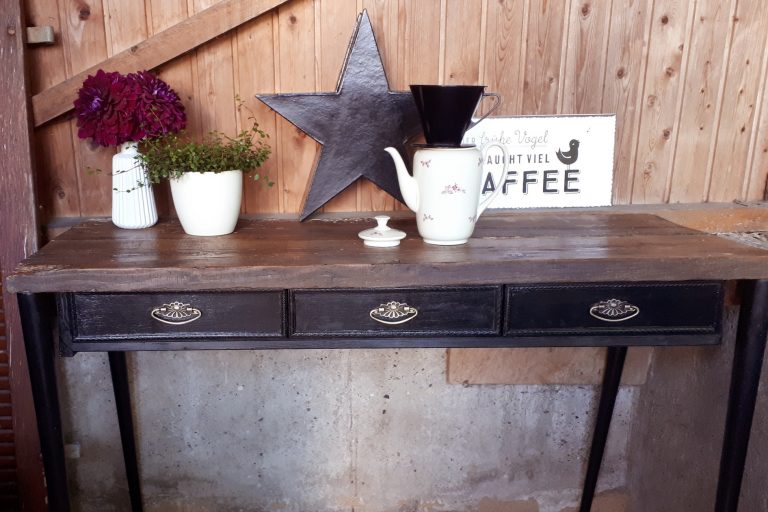
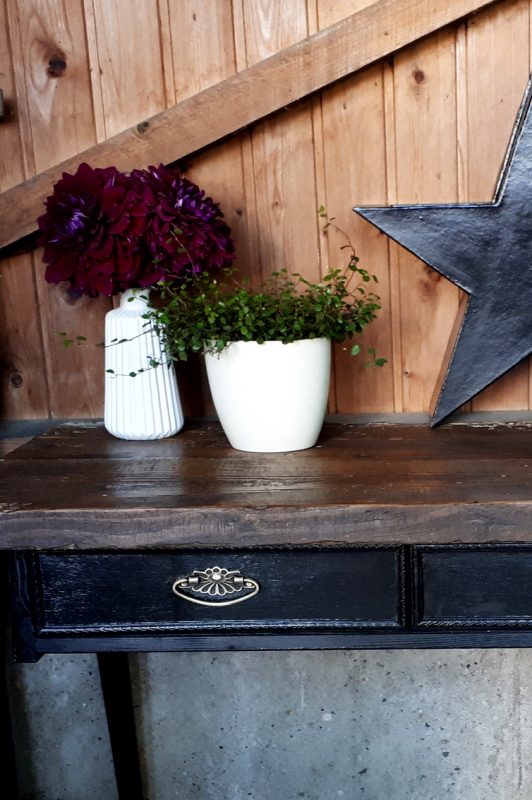
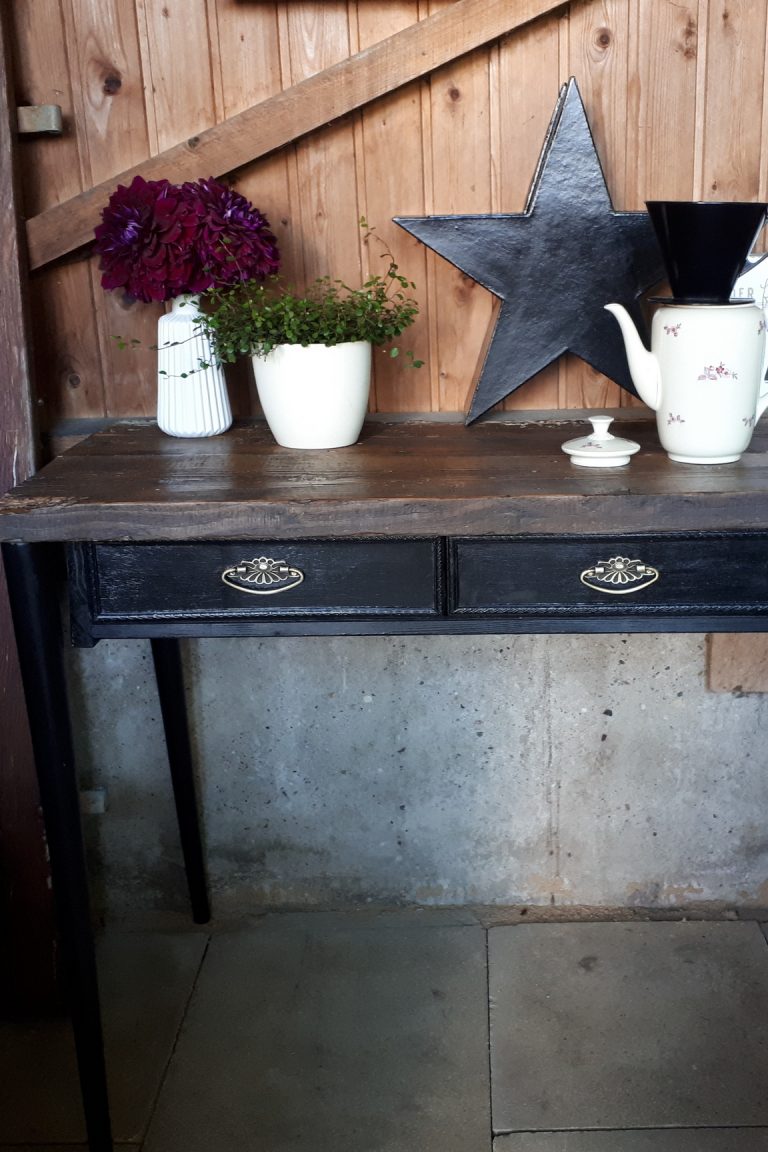
The Finished Product
Our side table is in use in our outdoor kitchen and is used to store napkins, cutlery and teelights in the drawers. Building it was a challenge as I had never done a project like this before. Designing, painting and bulding from scratch is a fascinating process and Ihave great respect for the carpenters who turn designers’ creations into reality. I can’t get enough of looking at it and am so proud to have made it with pieces of junk other people were getting rid of. It is unique and has charm and that, to me, makes it worth the work.
This piece of furniture is simply awesome and to think how you pieced it together. I love it.
Thank you Susan. It was a wonderful project to get to work on. I am really pleased with how it turned out.
Love the colours around the table setting. Elegant. And great job on building it.
Thanks Fatima! I fell in love with the colour of that dahlia. Isn’t it beautiful?
The dahlia, oh yes! Its colour somehow works together with the rest of your table set up.
Wow!! This is so beautiful, I am very inspired to try something like this (also hoarders, and also have various bits of furniture and wood waiting for “The Project” to appear). Well done, it’s FAB <3
(I left a comment the night you posted, but the computer did some mad freeze-bomb and I’m only getting back here now)
I am SO INSPIRED by this post. We are also hoarders with interesting bits and pieces… I am now looking at them as Great Possibilities. Your outdoor kitchen is just: **sigh**
Thanks for popping back over Emily. I’m looking forward to seeing what you and Fergal come up with from your hoarded stuff.