Back in January I posted about how we were about to embark on one of our house dreams – creating a library wall. I was so excited about it and now that it is pretty much done I am still majorly excited about it. It is not a big extension or a complete room makeover. In fact it was a low budget job we did by ourselves in one weekend. Yet still, it is one of may favourite changes we have made to this home of ours.
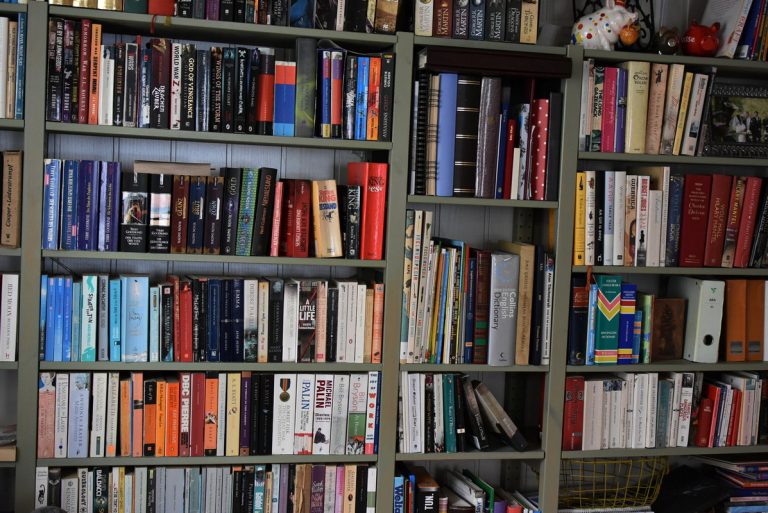
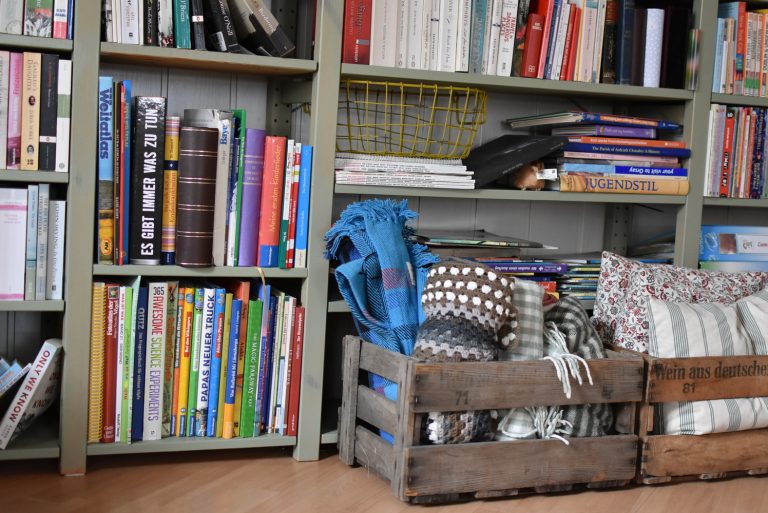
On moving into the house seven years ago we set up the boys’ playroom in what had been the dining room. It lead through to the living room. The previous owners had knocked down the wall to create one large, bright room. At teh time it was ideal for us. As a new mum of two back then, being able to sit on the sofa to nurse the baby but still have the toddler in full view was perfect. As the boys grew and Number Three came along, we rearranged the playroom several times. Whileit was lovely when tidy and also a practical room, on a day to day basis it remained a chaotic, sprawling mess of Lego, books, Playmobil and crayons.
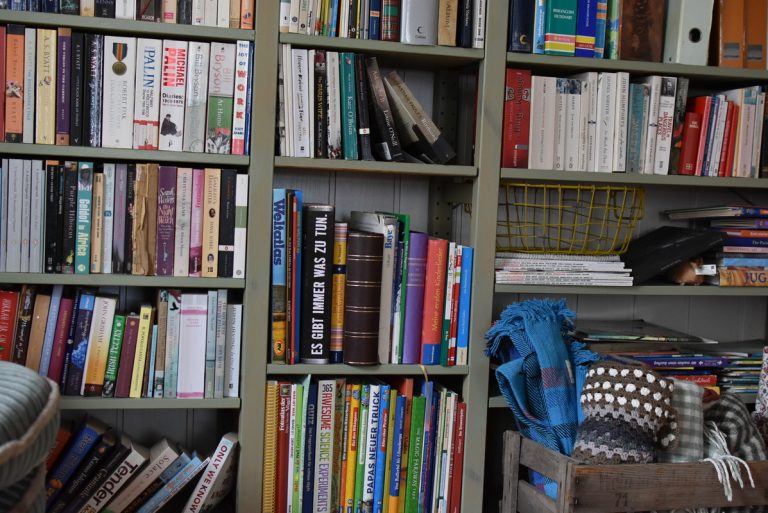
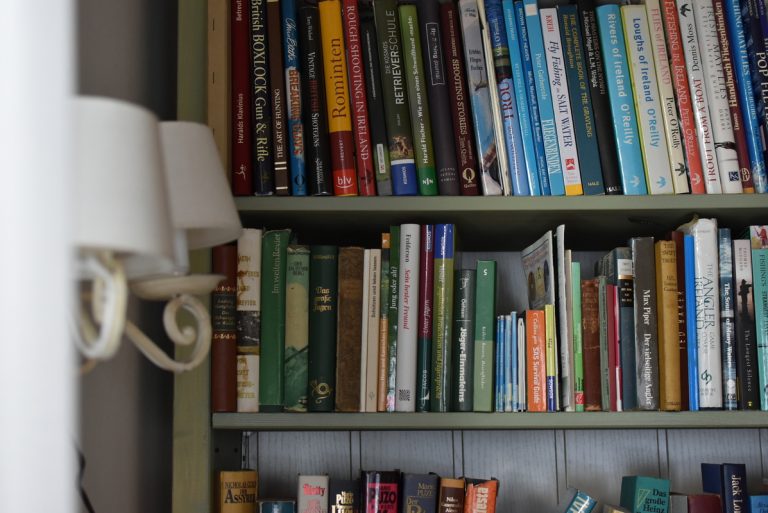
Now that the boys are into reading and play mostly in their rooms or outdoors, the playroom seemed like a waste of space, so we took a close look at its contents, packed some up for giving away, packed some into the attic and the most used bits into the boys’ rooms, leaving us with a large space to make into a library.
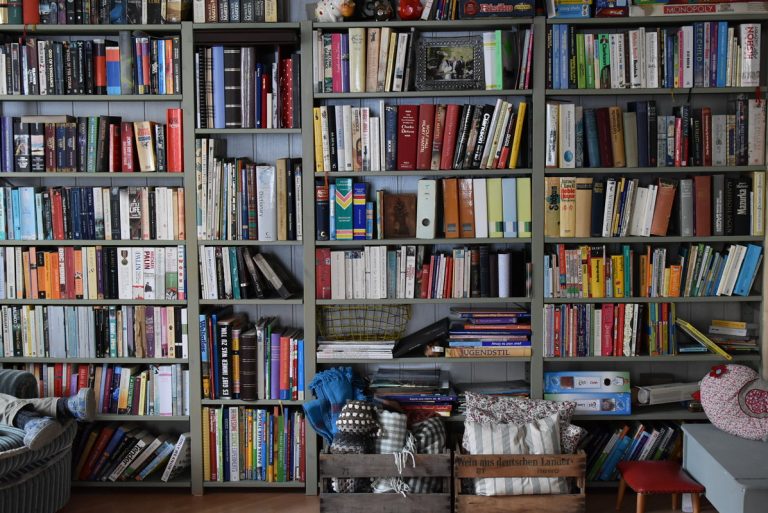
To create shelving along the full wall, we took apart the Ikea IVAR shelving we had in the living room end of the room and reassembled it along the with of the former playroom. We added to it with some salvaged IVAR our neighbours were throwing out last year. To bring the shelving up to the ceiling, we added a shelf on brackets above the IVAR system. This was a simple shelf set up from out local DIY store. All we had to do was ensure that the shelf depth was the same as the IVAR shelves.
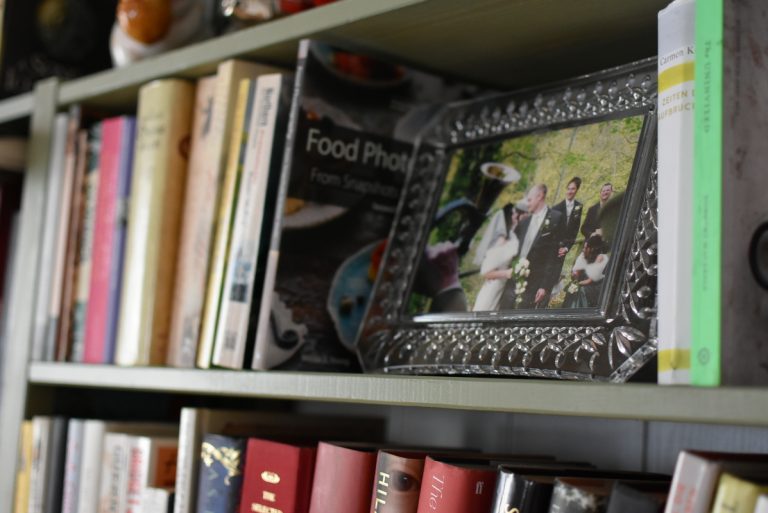
Once we had worked out the heights we wanted the shelves at, we gave all the wood two coats of Bondex Garden Colours Cosy Green paint. It is, as the name suggests, a paint for garden furniture but is water-based and suitable for indoors too. It is also quick-drying, but the main selling point for us was the colour. We had long agreed on green for the shelves and after much deliberation we agreed on the sage-ish green.
Initially we had planned on painting the panelling behind the shelves green as well as the red wall we had. In the end we decided to paint the red wall white and leave the panelling as it is. At the time it felt like a bit of a lazy choice,bu now I am very pleased we went with the white since it makes the green of the shelving stand out all the more.
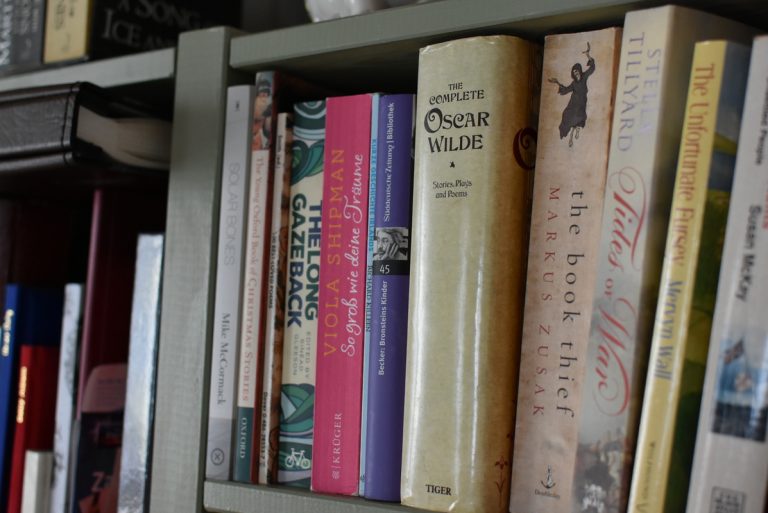
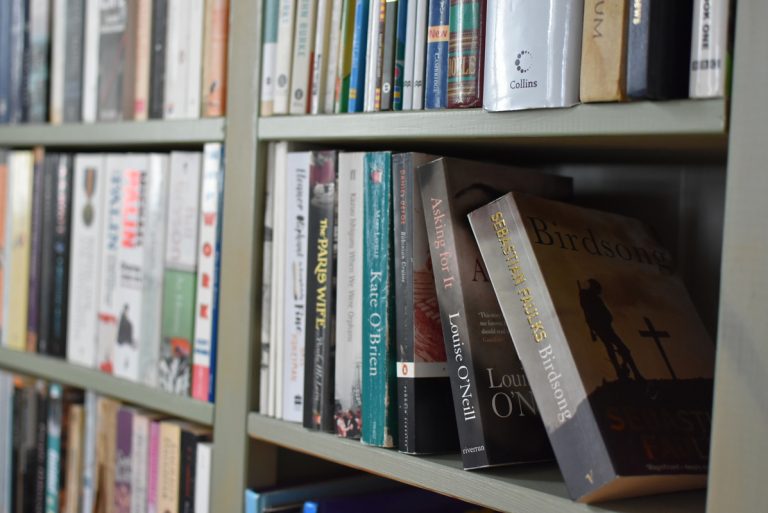
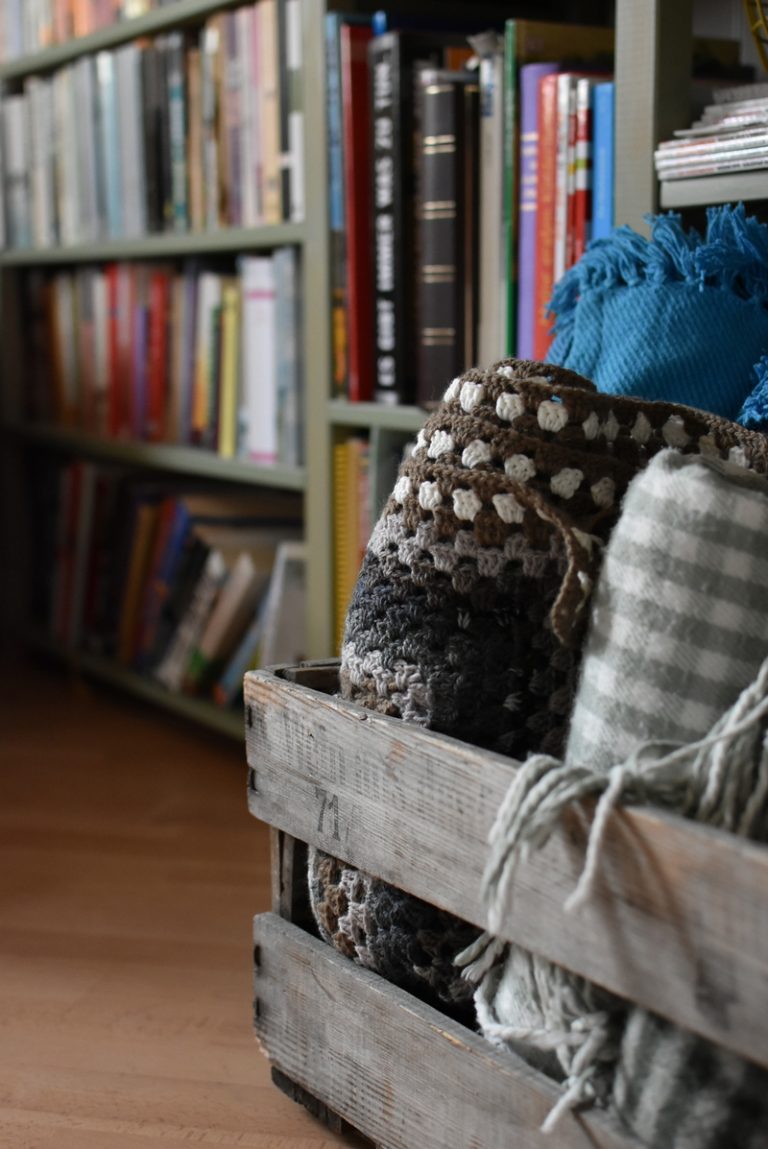
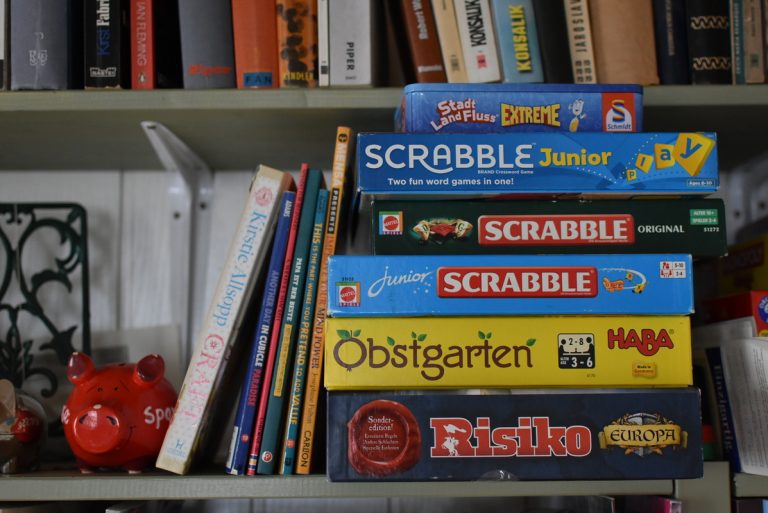
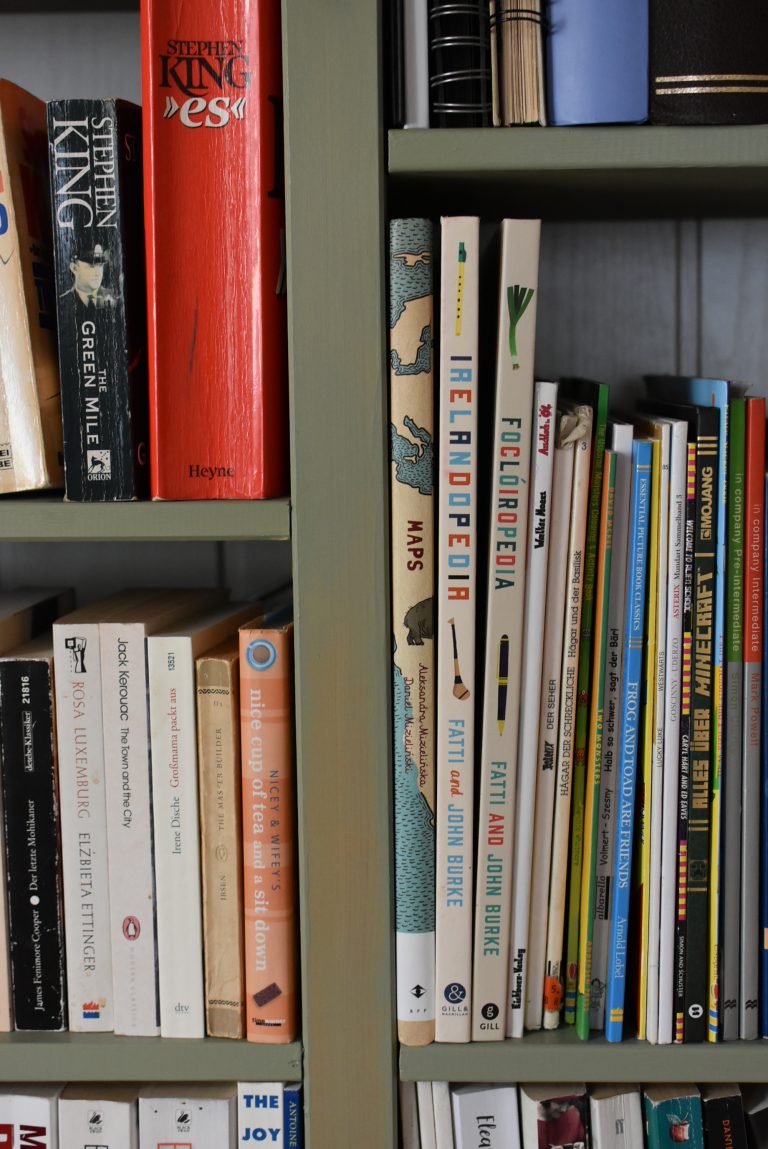
With all the shelves and uprights painted and dry, we set about putting the whole bookshelf together and fastening it to the wall. Then, of course, the obvious next step was to put all the books back on the shelves. For a scary hour or two it looked as if we might nothave enough space. Books seems to have sprouted from every corner of the house. In the end though we fit everything in, including out board games.
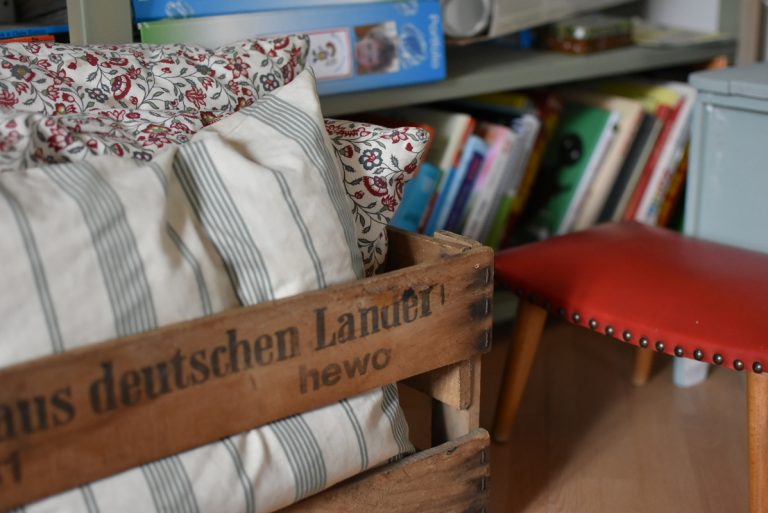
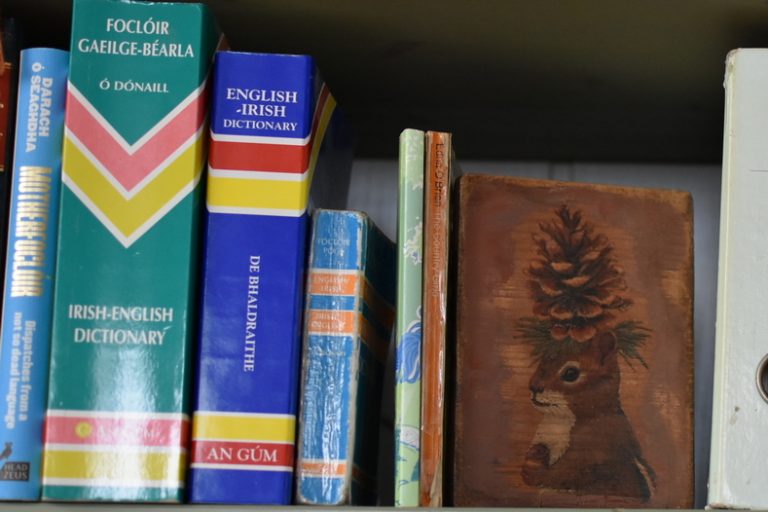
The few empty space we ended up with have been filled, for now, with some photos, art works and piggy banks. Sooner or later they will have to move on to make room for more books but for the time being, I am enjoying these little displays. The space in front of the shelves is taking form nicely too. Once again I have shopped from around the house to being together pieces that will sit well in our library – a wall lamp from the landing, a painting from the hall, old wine crates from the guest room. Our beloved red children’s bench was looking a little worse for wear and got a nice little makeover too to tie in with the rest of the room.
It is not nearly a finished room yet, this library of ours. I would love a Persian-style rug and a new light fitting and we still need to finish off the edges where the frame of the shelf meets the walls. But we’ve come a long way since January with very little cost and not too much elbow grease either. What do you reckon? Have you a reading area or a library wall in your home?

We have a library wall too! It soon filled though, and we have to find another bit of wall to inhabit!! We made ours with scaffolding boards and red bricks: super, super easy, very cheap and little work. (Also look great outdoors 🙂 )
Oh that sounds good Emily. How about you do a post on it? Or do you have one already? I would love to see it.
I love it! Ive been wanting to do this for ever. Your post is def inspiring me to try it 🙂
Do it! We can’t get over how much we love ours.
Aaah it looks so lovely Fionnu!! And it really makes me feel sad that I’ve got rid of most of our books!!!! That’s so bad isn’t it?! I’ve kept very special ones — ones that I will go back and read again — or ones we’ve been given and hardback copies — but most of the paperbacks have been passed on or sent to the charity shop!! Love your library — it looks fab! Thanks so much for sharing on #HomeEtc xx
Thanks Caro. We are delighted with it.
I can’t believe you made these yourselves, they look incredible! Really love the colour too. What a beautiful addition to any room 🙂
THanks Suzanne. We enjoyed it. I love an Ikea hack and this was a pretty simple but effective one.
Oh I love it! I love the look and feel of books and love seeing them on display in a home. We did have one before we renovated our kitchen recently and this makes me feel a little sad about it! You’ve done a great job! x #HomeEtc
Maybe you can add one to another room or a hallway? I love ours. As well as improving that end of the room immensely, it is lovely to look at books upon books.