A pet hate of mine – and I have many – is photographs of food styled so that it bears no resemblance to how it would look in reality. Pictures in cook books, on blogs or in magazines showing food that is obviously not prepared according to the accompanying recipe make me incredibly angry. While I understand that food porn sells, I hate to think of people cooking up delicious food only to feel like a failure because their dish doesn’t live up to the photo the book/blog/magazine has presented them with as what they should be measuring up to.
In all my recipes and food-related posts here and on my food blog My Kitchen Notebook I try to present my dishes in such a way that they are appetising but realistic. I try not to overdo the styling but rather let the food speak for itself. I want to show the food in its best light, adding some accessories to highlight colour or texture. What I don’t like to do is show something other than the actual finished product.
In this post I want to show you how you can style food successfully without a big budget, lots of space, time or gadgets. I’m not by any means an expert at this, but over the past couple of years I have learned what works for me. Using the example of the meringues I made in this post, I’ll show you how you can take photos to rival any cook book on your shelf.

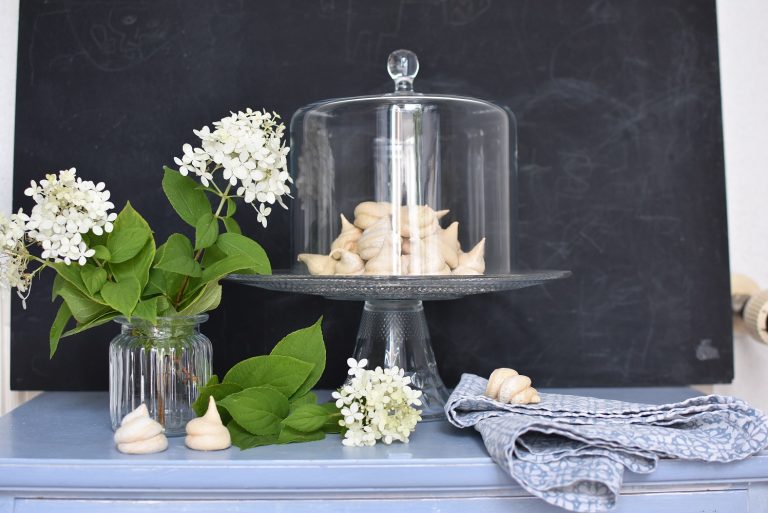
In the photo below you can see what I started out with:
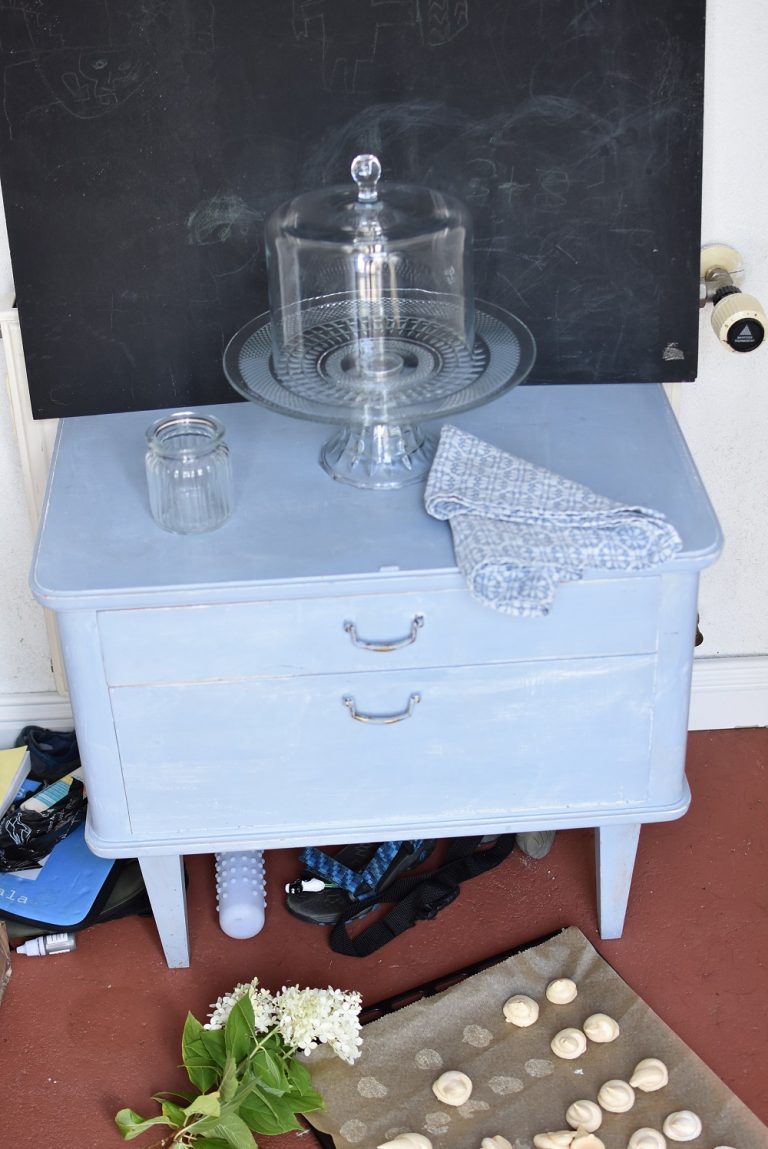
Meringues
Flowers
A glass cake stand
A glass dome
A glass jar
A tea towel
A blackboard
A blue cabinet
As you can tell from the photo, the usual pile of junk that resides on this cabinet was unceremoniously dumped onto the hall floor to make room for my photo shoot. What you can’t see are my three cheeky sons who kept trying to steal the meringues. Like I said above, you don’t need perfect conditions to create great shots. You just need to develop a good eye and be creative.
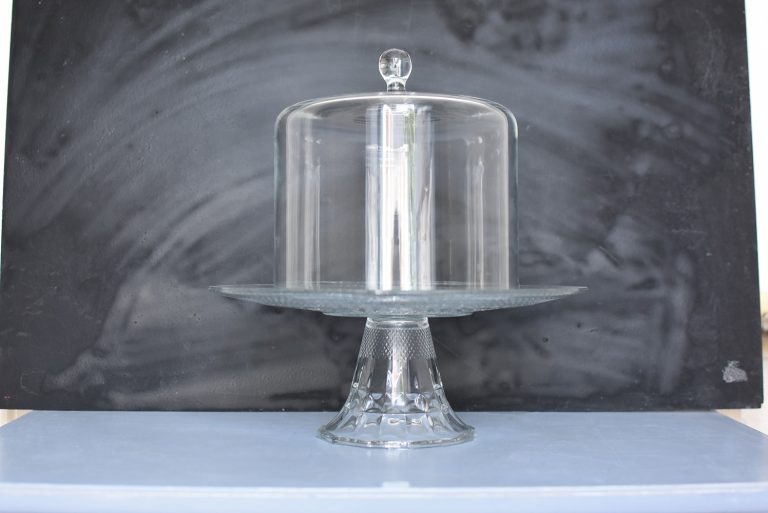
Once you have all your bits and bobs together, begin to fiddle about with them until you are happy with the constellation. Step back now and again and look at the scene from various angles. Take a few practice shots before adding in the food to see how the scene looks on screen.
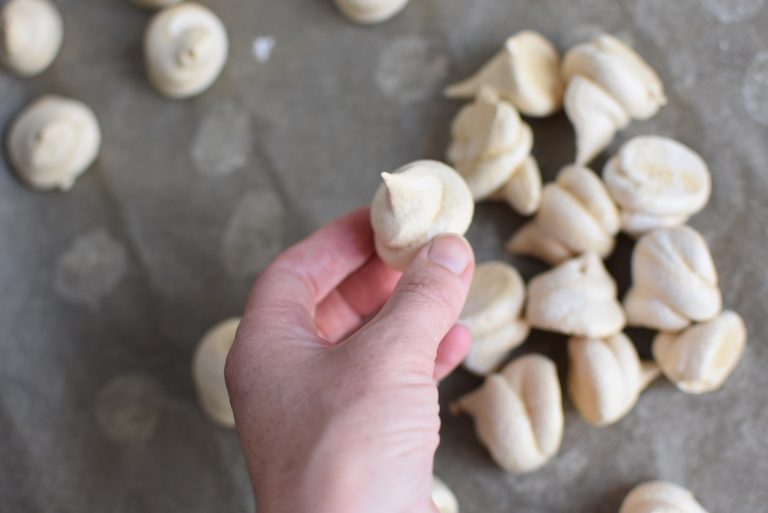
Choose the best-looking food for your shoot. Here I picked out the meringues with the least flaws. One or two had a crack or bubble in them but by placing these at the bottom of the pile, the flaws weren’t visible.
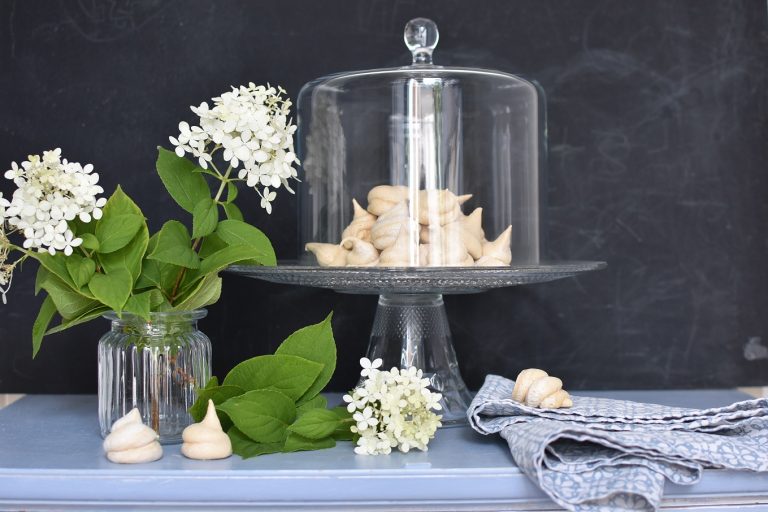
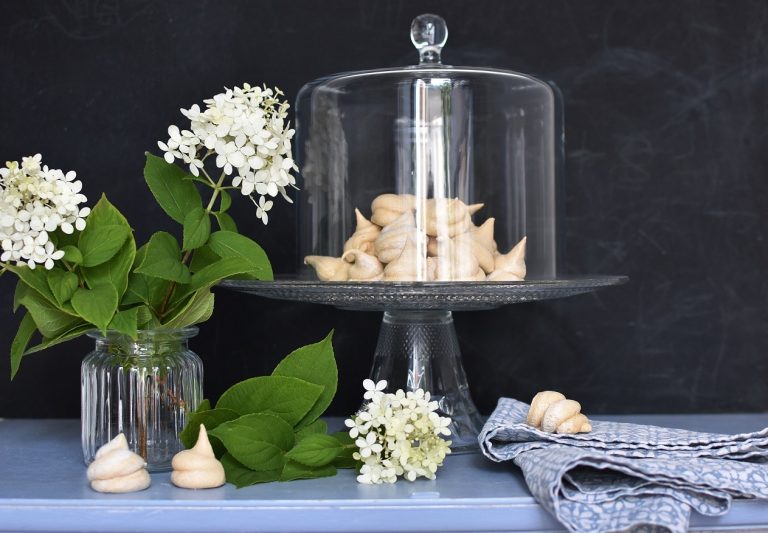
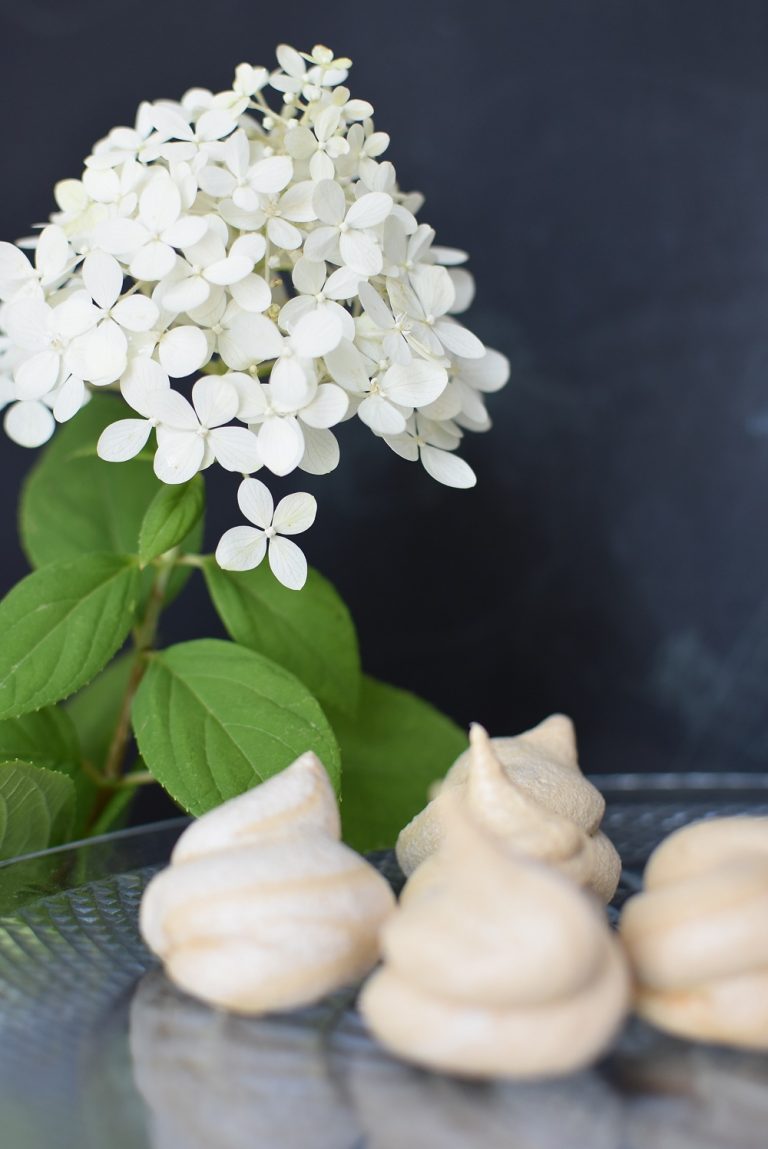
After a couple of attempts, I found my favourite shot. The three photos below are all one photo but at different stages of processing. The first photo is the original. In order to get it looking more professional, I used FastStone to trim the photo to include only what I want the viewer to see. I cut off the edges of the blackboard and the radiator knob visible on the right. To improve the overall look and make the blackboard darker, I used the lighting and contrast functions on FastStone. That gave me the final look (see the third photo below).
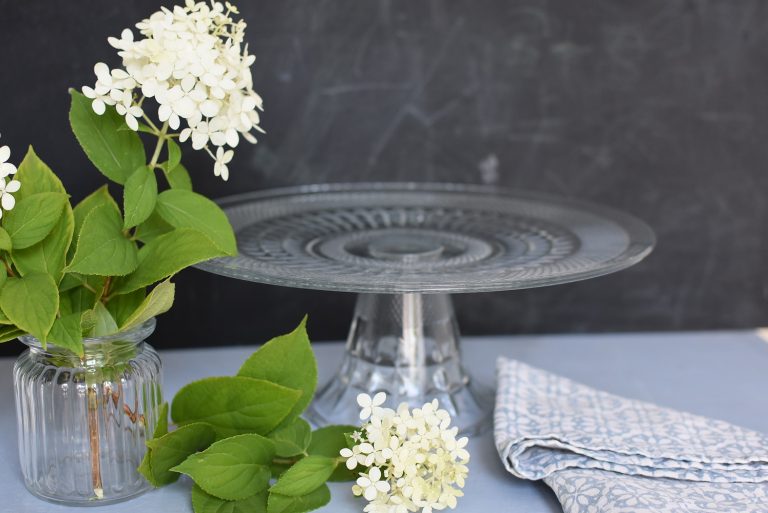
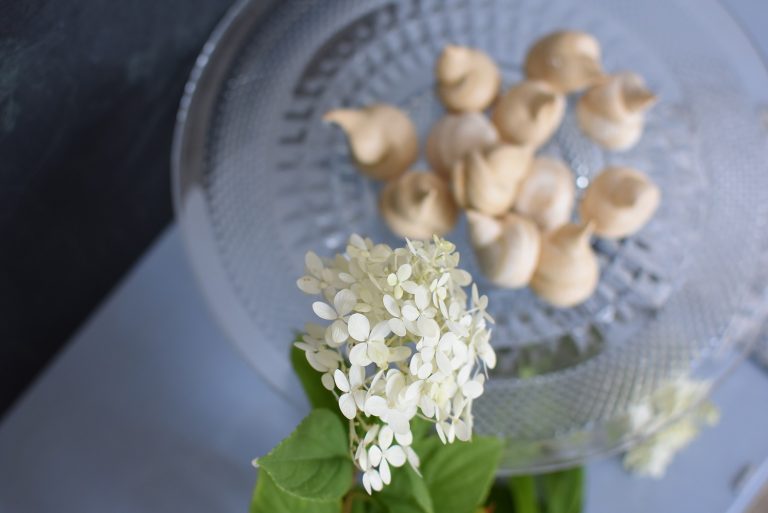
Once I had my main shot defined, I took some detail photos. This is my favourite of those. The first is the unfiltered shot. In the second I have adjusted the contrast slightly to darken the background, making the flowers and the meringues stand out more.
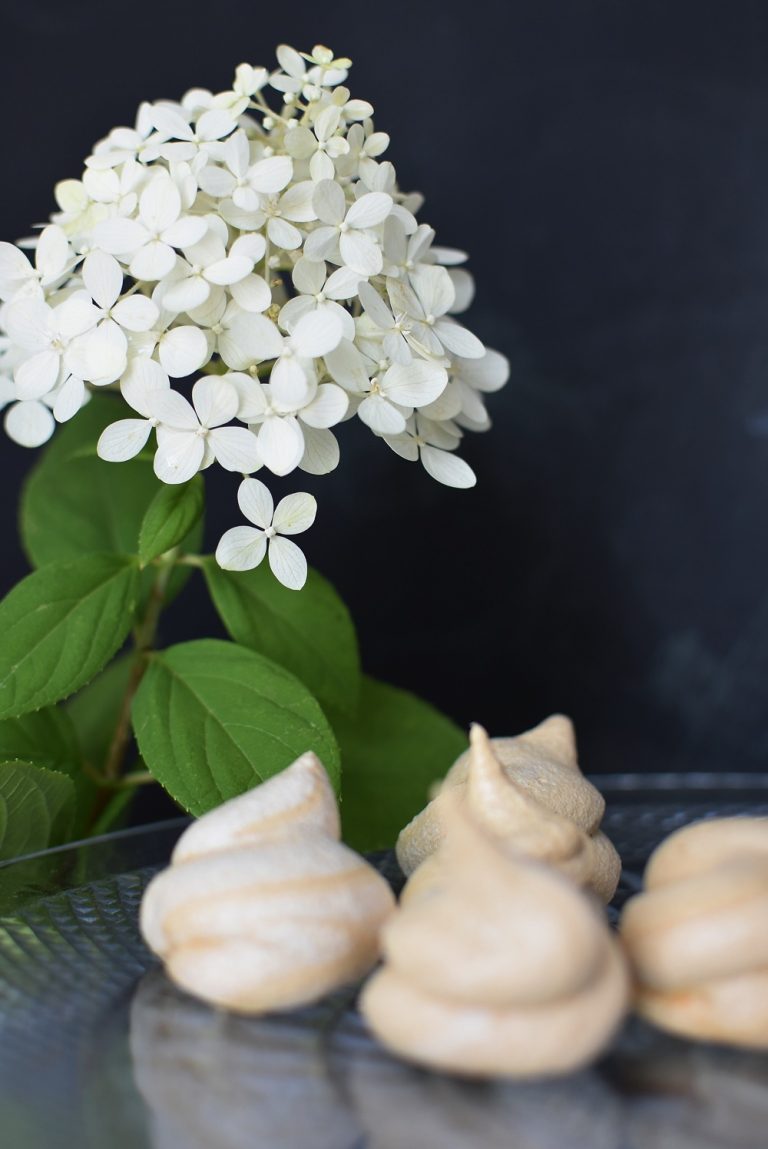
What do you think? Would you eat them?