This week I have my annual Easter Make & Bake coming up. I love everything about this yearly session with our friends. It is a proper crafternoon – a chance to catch up with friends, learn new crafts and / or teach the children some new crafts and skills, plus there’s coffee and homemade cakes. The house is filled with life. And glue and glitter and egg shells and bunny-shaped cutters.
As usual I have been spending a lot of time thinking about which crafts to highlight this year. In the past we have made coffee filter bunnies, bunny cakes, painted eggs, dyed eggs, yeast dough nests and napkin technique decorations. This year I am going to make transfer art on wood as Easter artwork to place around the house on shelves or hung on the walls. As usual with me, once I get an idea into my head I have to launch into it immediately and so it was in this case too. Before starting into my crafternoon in the hope that my idea would work as I imagined, I gave it a go last week on my own.
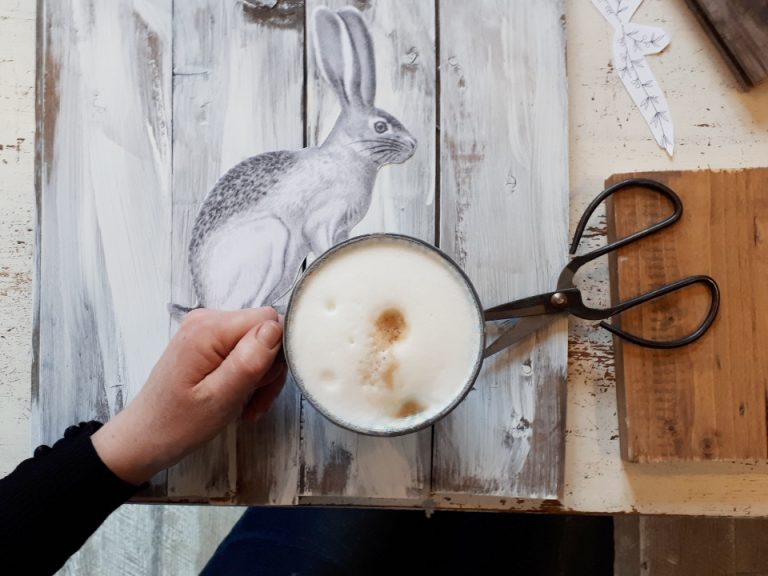
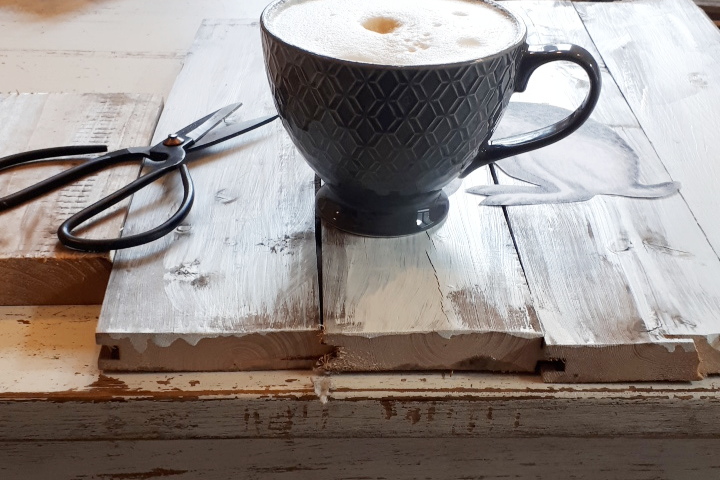
The finished result is subtle but I love it. Even The Bavarian – not a huge fan of decorations – liked it as has commissioned a special piece from me as a gift. Read on for details on how I created this piece of Easter artwork for my home.
You will need:
Wood (I used tongue and groove off cuts slotted together)
Chalk paint or vintage effect paint (I used Bondex’s vintage range)
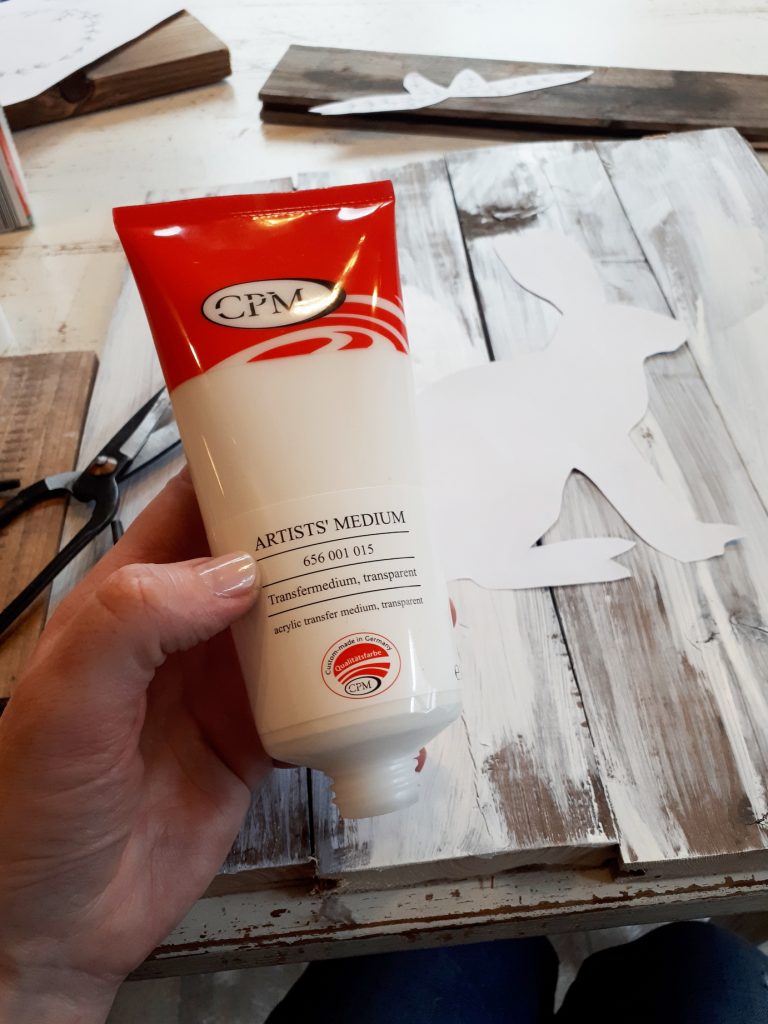
Transfer medium (mine is from Aldi but most craft shops should stock it)
Paper
Laser printer
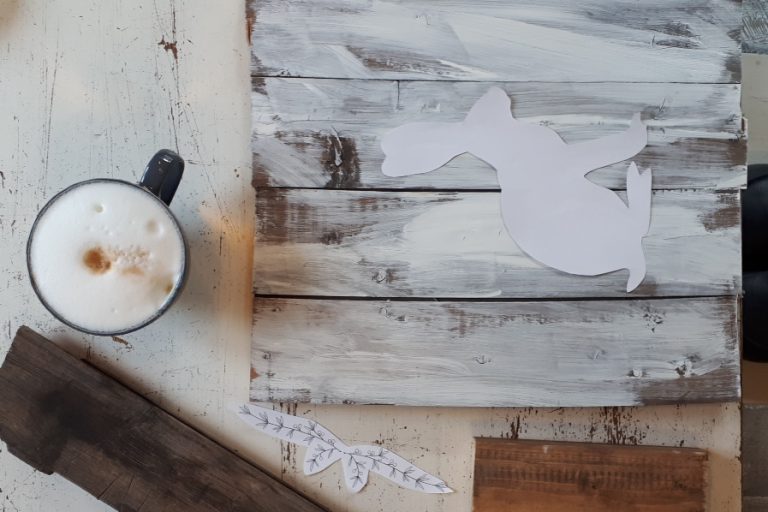
Step 1: Paint the wood with the vintage-look paint, leave to dry and then sand in parts to give a used look. Wipe all sanding dust away and make sure your surface is clean, grease and dust free before you continue.
Step 2: Print out the picture you want to transfer to the wood. My transfer medium only works with laser print. Use the thinest possible paper for printing on. This gives the best result.
Step 3: Cut out your picture and decide where on your wooden surface you want to place it. Remember that your picture will be a mirror image of the printout.
Step 4: Set the printout aside and paint the area of wood it will cover liberally with the transfer medium then place the cutout picture-side down on the medium. Press in firmly into place, wiping away any air bubbles gently, taking care not to rip the printout.
Step 5: Leave to dry for 24 hours (If you are impatient like me, this will be the hard part).
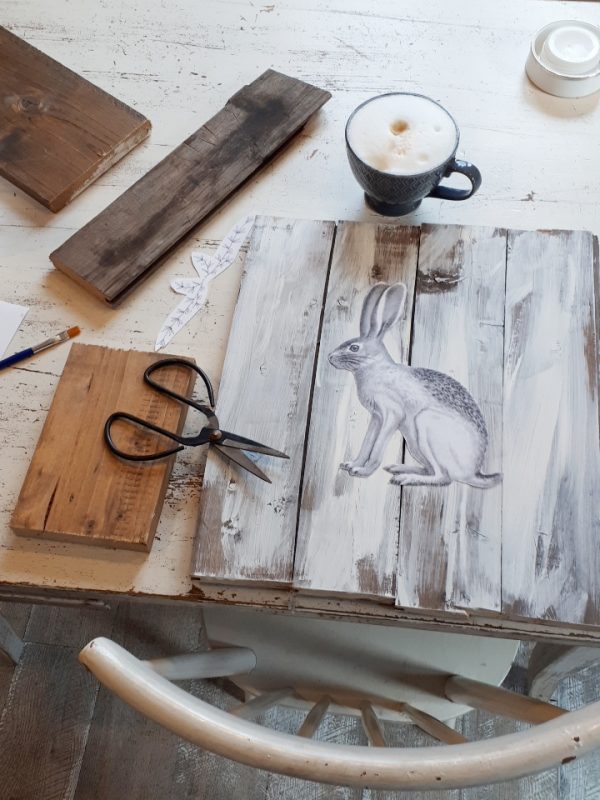
Step 6: Use a damp cloth to dampen the paper and rub it away. Beneath the paper you should be able to see your picture transferred onto the wood.
Step 7: Stand back and admire your handiwork.
I always wondered how folks make these! I wonder if you can get one that works with inkjet printers? #HOMEETC
I don’t know Jane but have a look online. I’m sure you’ll find a solution.
What a fab idea!!!! I love it!! Love the idea of putting transfers onto wood. Thanks so much for sharing! 🙂 #HomeEtc
Thanks Caro. I love doing these pictures although I do need to work on my patience.